Metal tile installation

How metal tiles are installed is one of the most important aspects when talking about the durability of the roof. Of course, the quality of the materials is undoubtedly a decisive factor in the roof’s lifespan, but an inadequate installation can have a strong negative impact on the roof.

In order to properly install a metal tile roof, you need to have the time to do the job perfectly. It is extremely important to follow all the steps so that the investment you make performs all its functions efficiently and correctly – thermal insulation, waterproofing and, in some cases, sound insulation.
In this respect, RoofArt offers the complete solution for your roofing, including all the accessories that ensure the roof’s airtightness. The accessories are made from the same raw material as the tile panels, which will give the roof major benefits, both functionally and aesthetically.

RoofArt metal roof tiles are produced in two versions: with hidden fasteners (consisting of panels of two modules) and classic (panels with a maximum length of 12 modules). Umbrella® metal tile modules are equipped with a molding that allows four tile panels to overlap perfectly. The 3D cut ensures an even roof appearance and allows the combination of small sized modules.

The perfect combination of double-modular tile panels with concealed fasteners and the semi-matt shade of the paint guarantees a pleasant, unique and even look. Thanks to the SSAB quality control system, the color shade is maintained from one batch of raw material to the next.

Metal tile installation step by step

Step 1

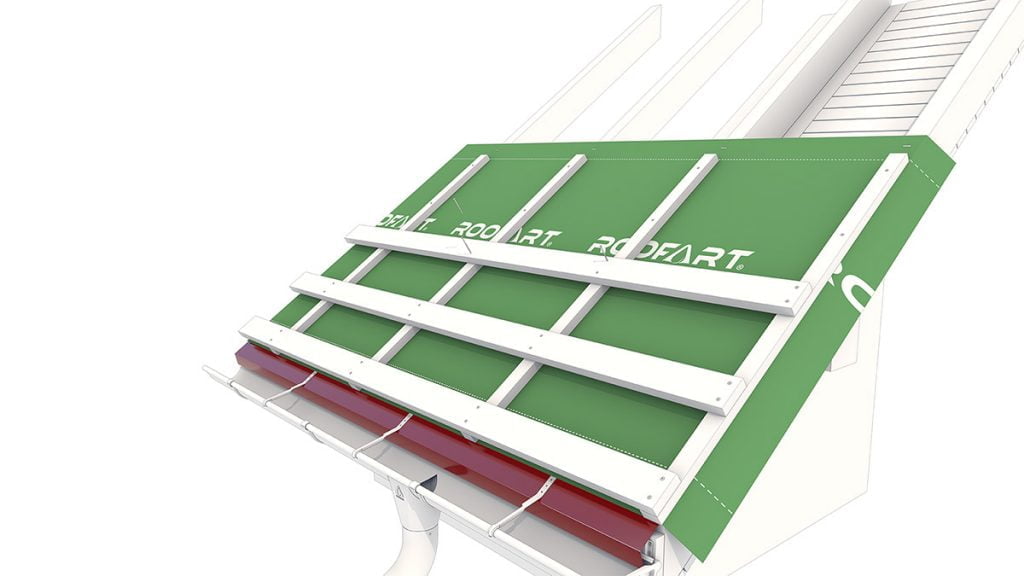
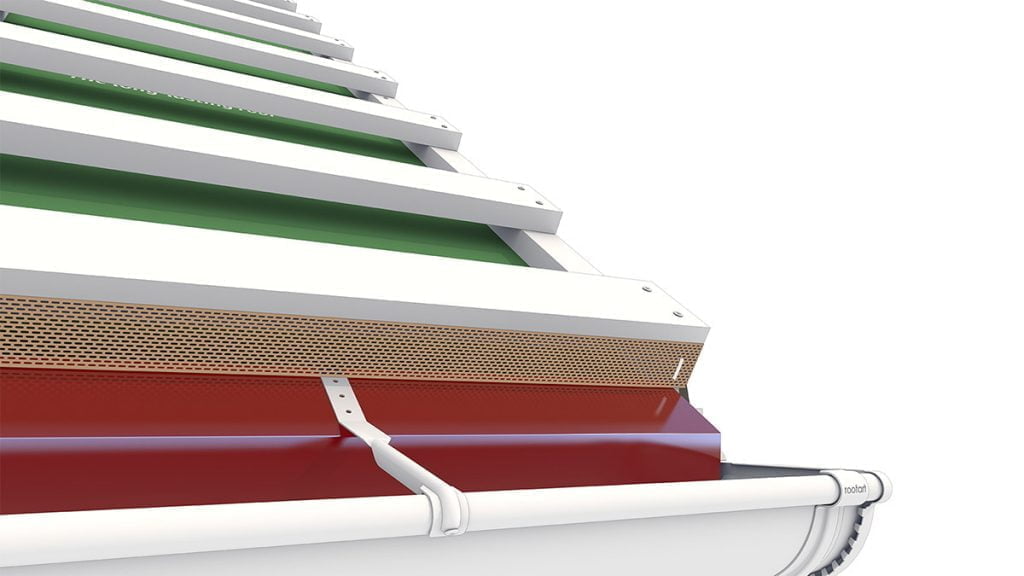
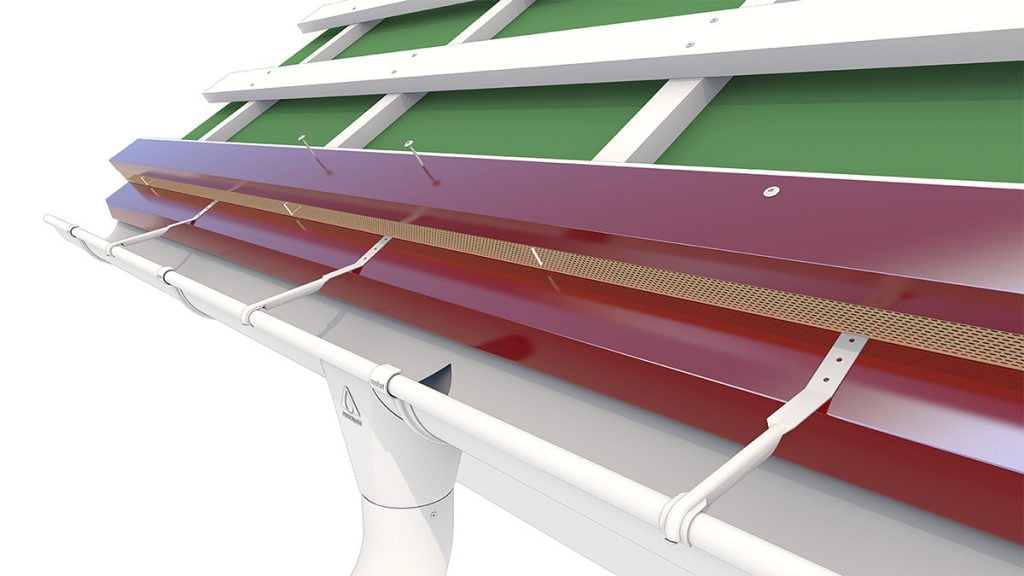
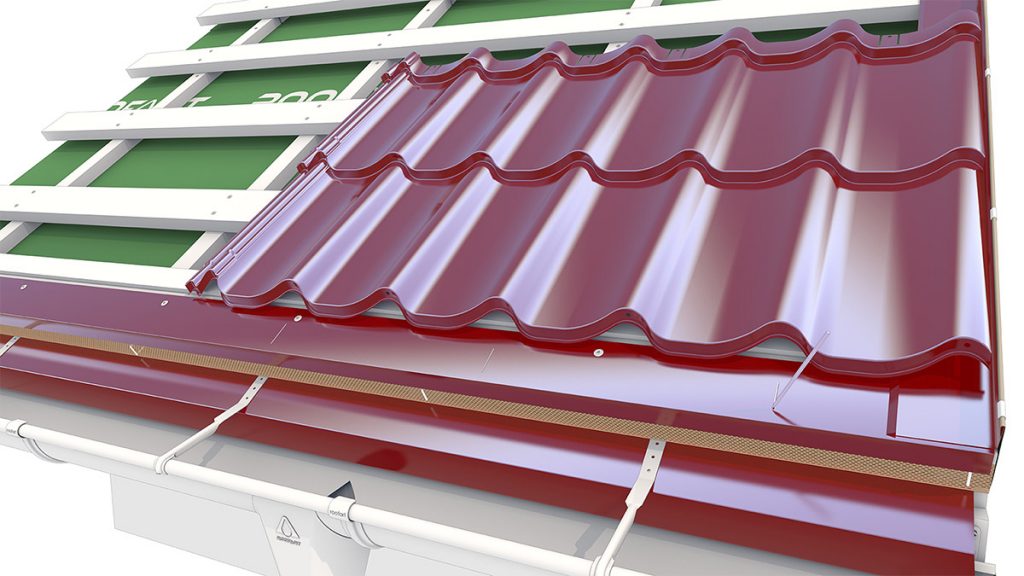
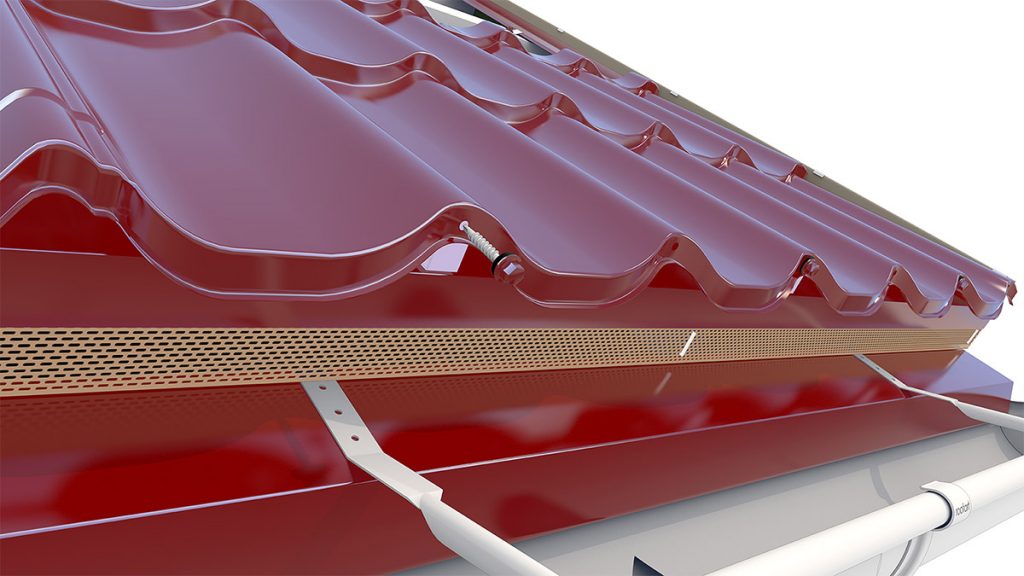
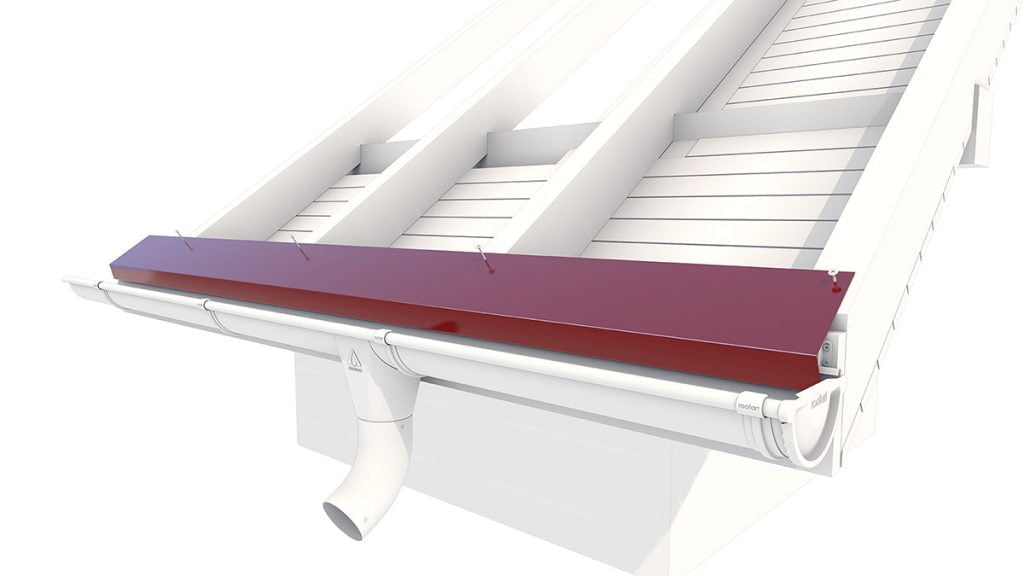
The installation of the double-modular metal tile is done after the installation of the gutter hooks. Next, the eaves apron is fitted, which ensures that the water accumulated on the surface of the anti-condensation film is collected. It also protects against water or snow entering the space between the gutter and the front guard.

Step 2

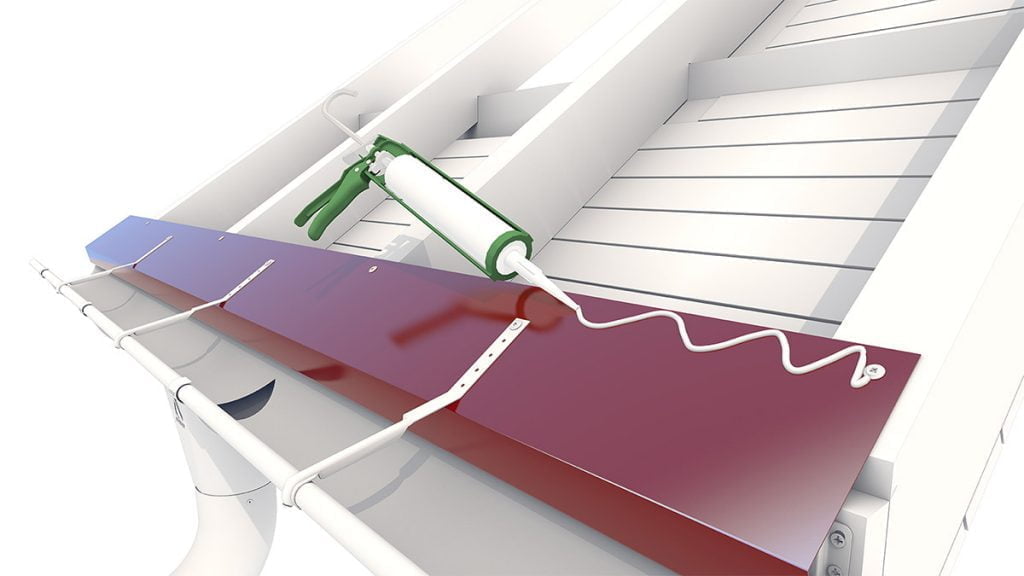
The gutter stabilizers are attached to the eaves apron in order to provide additional support in case of high-pressure loads (snow, ice, mechanical actions). Silicone is then used to fix the anti-condensation film to the eaves apron.

Step 3

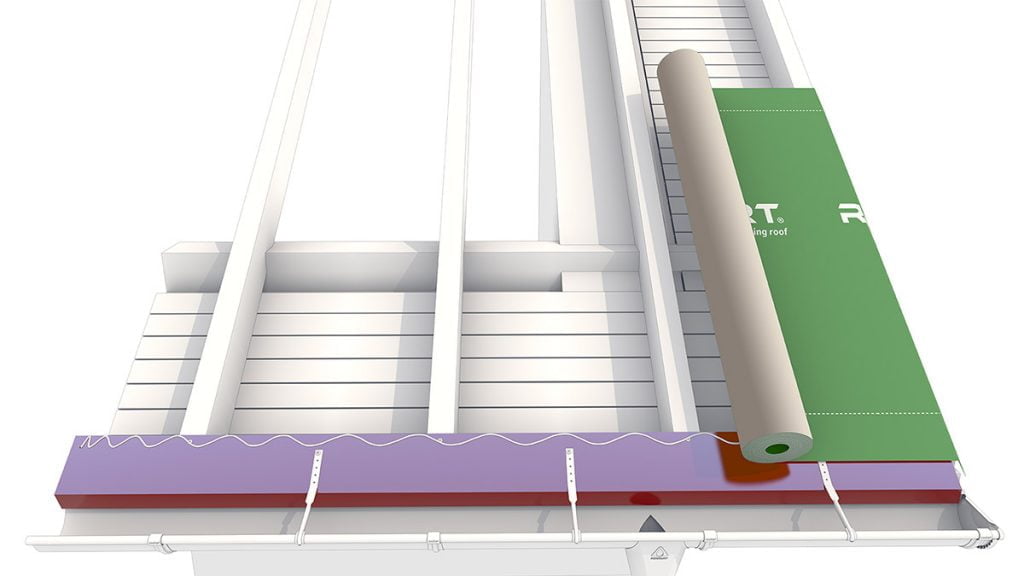
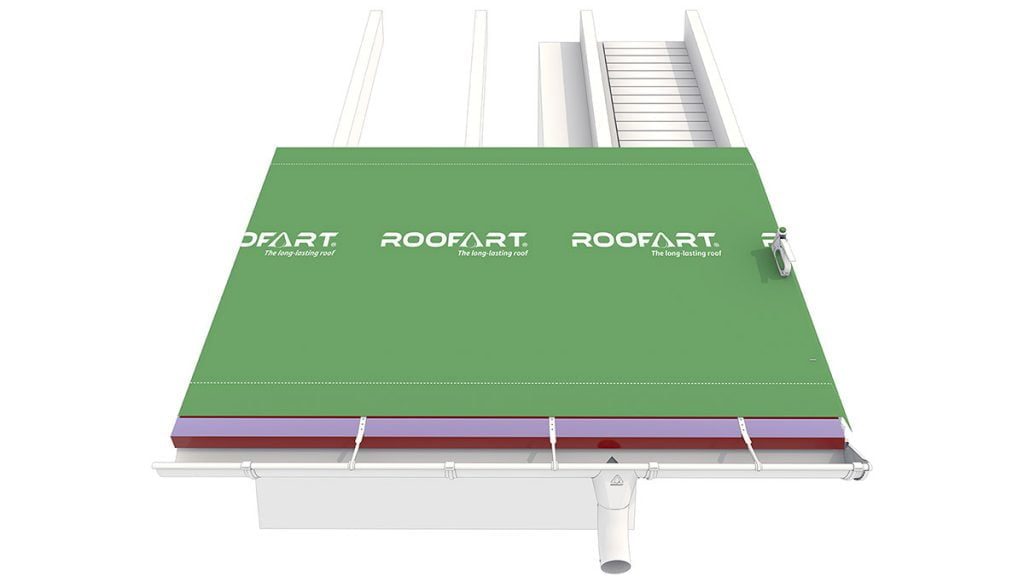
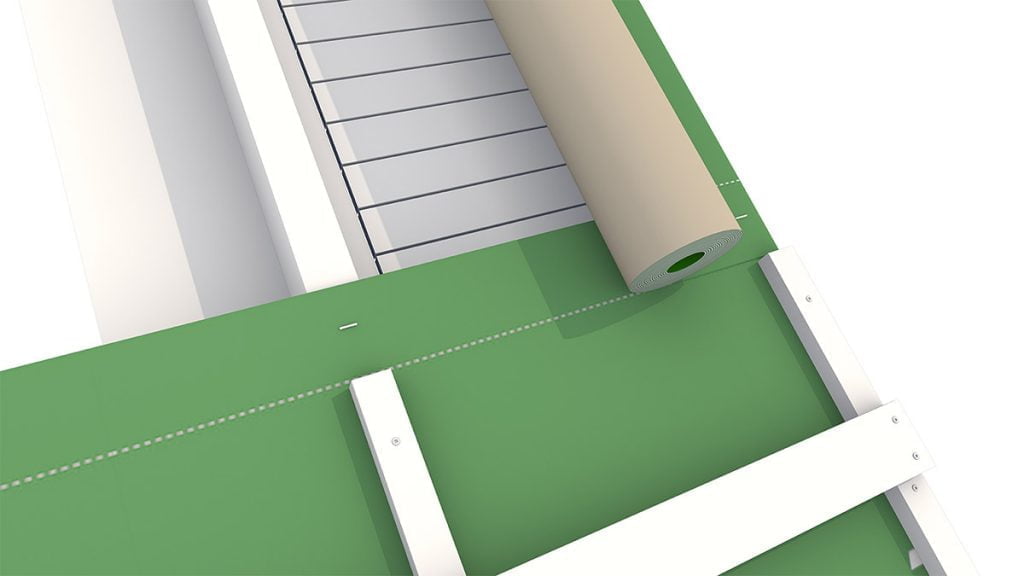
Anti-condensation film is a non-woven membrane, obtained by laminating high-density propylene fibers. It is UV resistant and has very good mechanical strength, supporting a large quantity of water without the risk of infiltration. The film is laid horizontally, parallel to the eaves. The horizontal overlaps shall be a minimum of 150 mm. For optimal sealing it is recommended to stick the foil using double-sided tape. This is stretched over the eaves apron and over the side guards so that water droplets run into the gutter.

Step 4

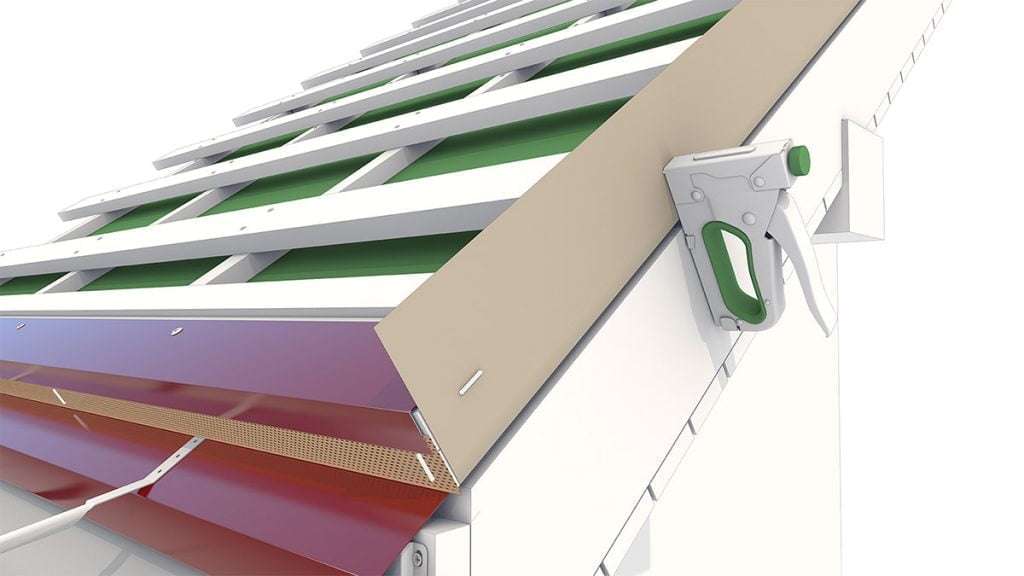
The anti-condensation foil is fitted over the full width of the roof and is secured with special staples.

Step 5

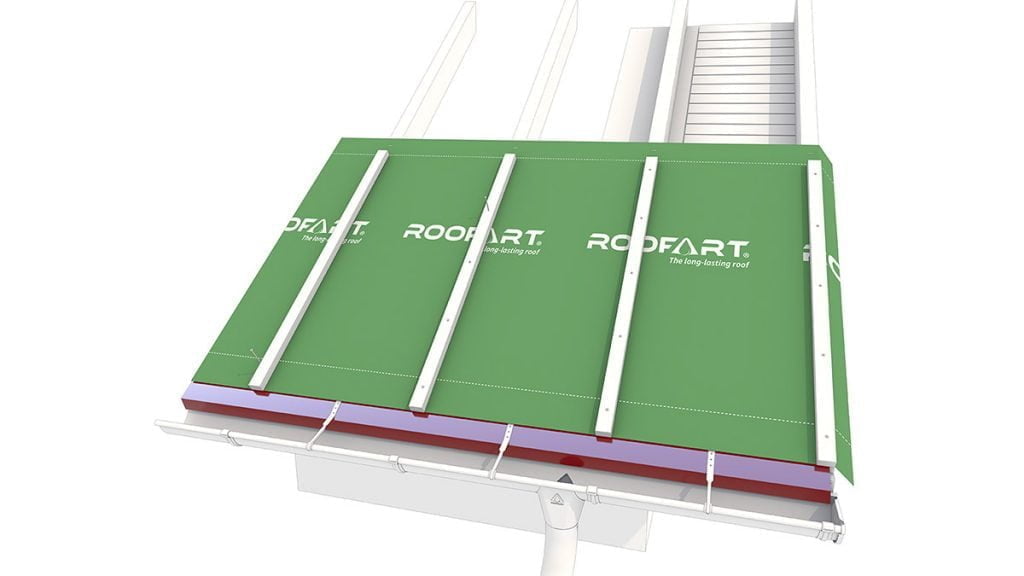
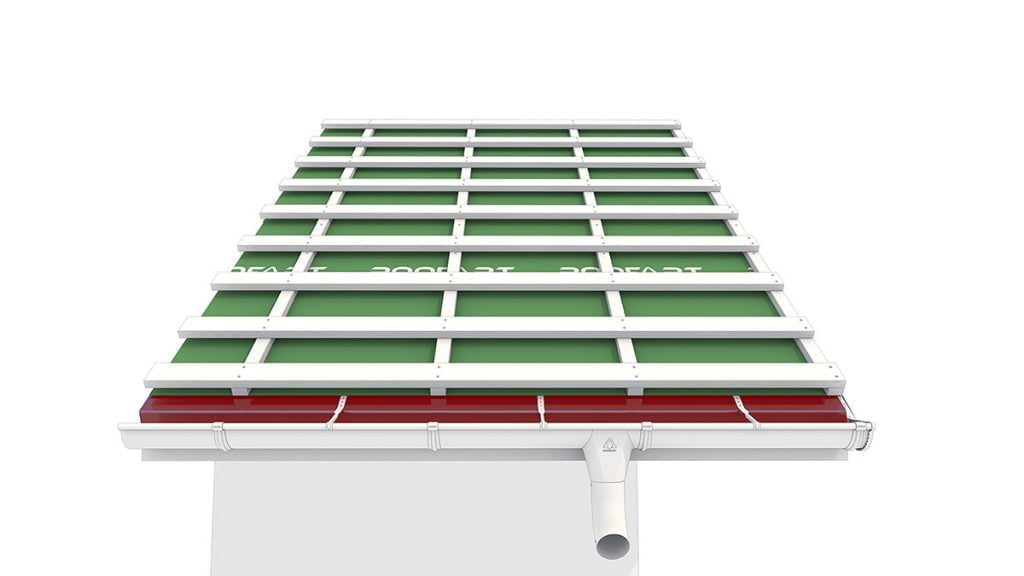
Special screws for wood are recommended for the process. The foil is fixed with vertical counter-screws which are fitted along the rafters at a distance of 600-800 mm. For a secure fitting of the double-modular tile, the batten should be 30 mm high and 50 mm wide.

Step 6

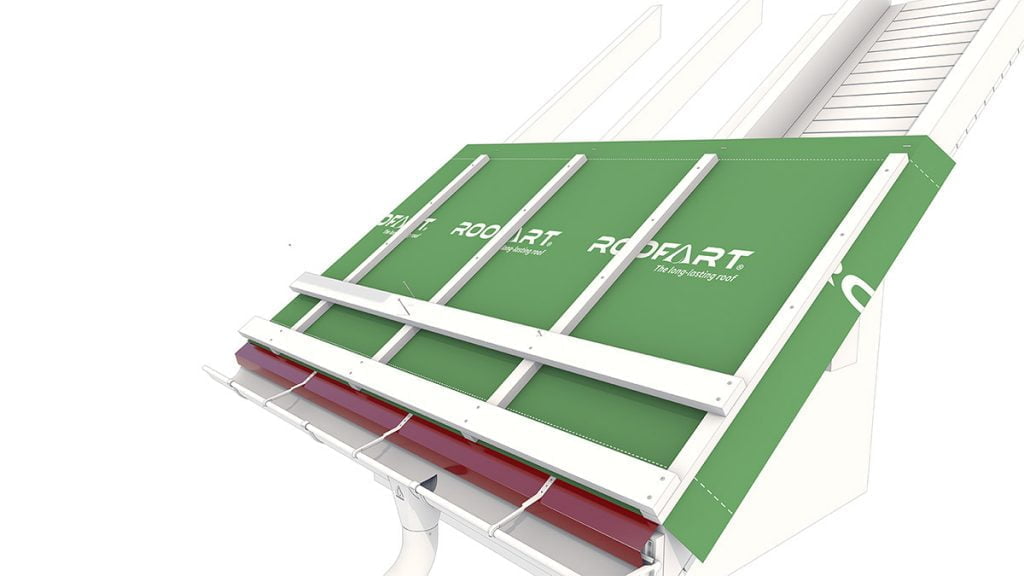
The horizontal shingles are placed at a distance of 350 mm from the roof eaves. The first spacing will be approximately 1/3 of the gutter diameter smaller, as the tile panel must exceed the edge of the eaves apron by ≈5mm. Thus, if the gutter is 100 mm, the first gap should be 350 – 1/3*100 = 350 – 33mm = 317mm. The support skirting for the gutter hooks and eaves apron shall be made of 30×150 mm plank.

Step 7

Continue fitting the horizontal slats at a distance of 350 mm.

Step 8

After installing the first row of anti-condensation film, the battens and the horizontal battens, the fitting continues. Each new row of anti-condensation film is fitted with an overlap on the previous row, so that water droplets collected from condensation under the roof run from one row to the next until they reach the eaves apron and then the gutter.

Step 9

Continue fitting the horizontal battens at a distance of 350 mm to the upper ridge of the roof.

Step 10

The ventilation mesh is fitted to allow air to circulate between the anti-condensation film and the metal tile, but does not allow insects, birds, leaves or other impurities to penetrate.

Step 11

Fit the masking apron of the first horizontal slat, which overlaps the ventilation mesh by 1-2 mm.

Step 12

Above the first horizontal batten, add another horizontal batten (40×50 mm). On the side of the added batten, 10 mm of its height is removed along the length corresponding to the width of the gable apron, which is mounted on the side of the roof.

Step 13

Fasten the anti-condensation foil with construction staples to the outside of the gable masking apron.

Step 14

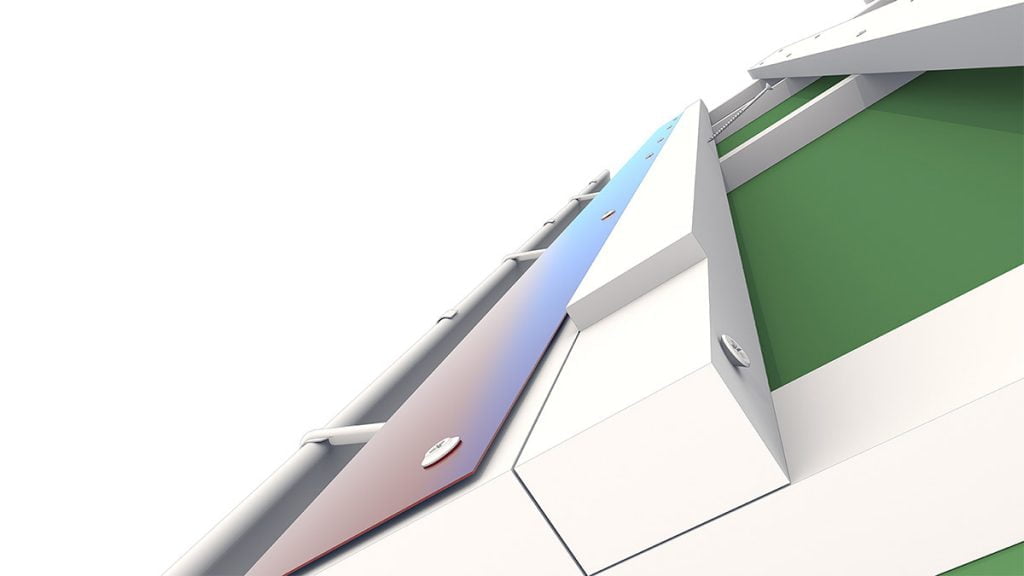
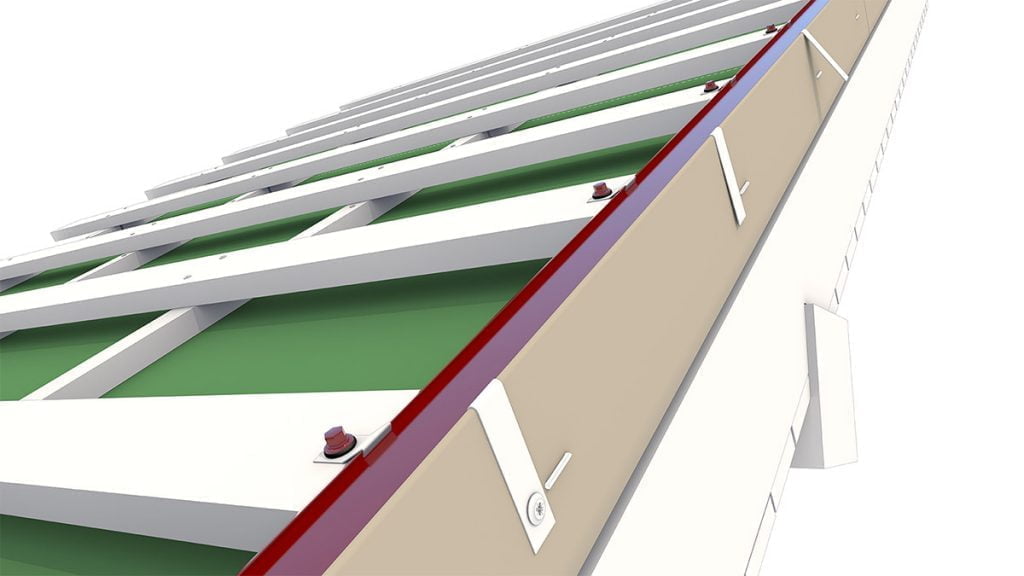
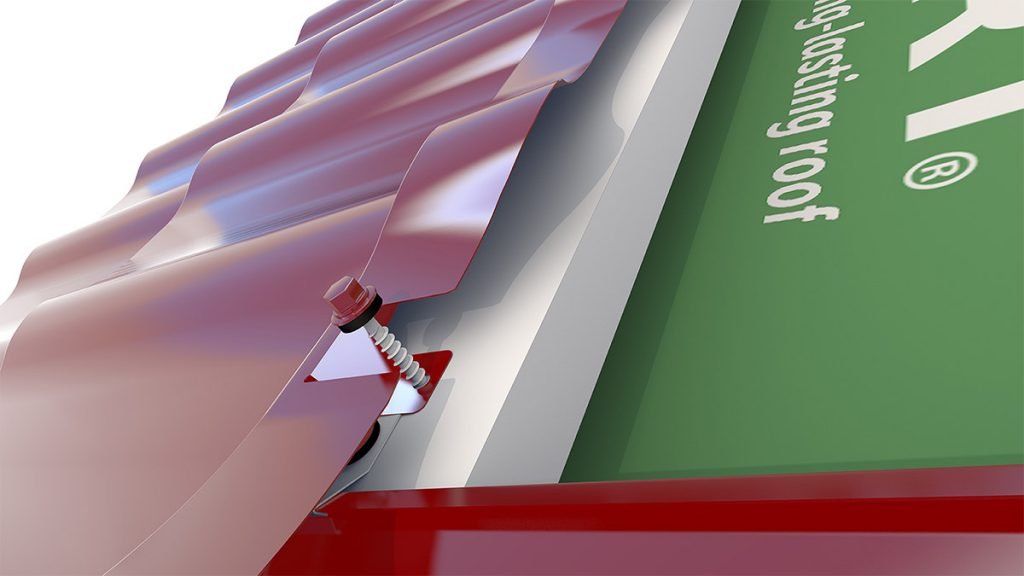
Install the inner gable (or in some cases the side connector) on the inside of the side guard. Its purpose is to protect the roof from the penetration of raindrops or snow under the tiles.

Step 15

The inner gable is fixed to the side using clamps and screws that go through the horizontal plate.

Step 16

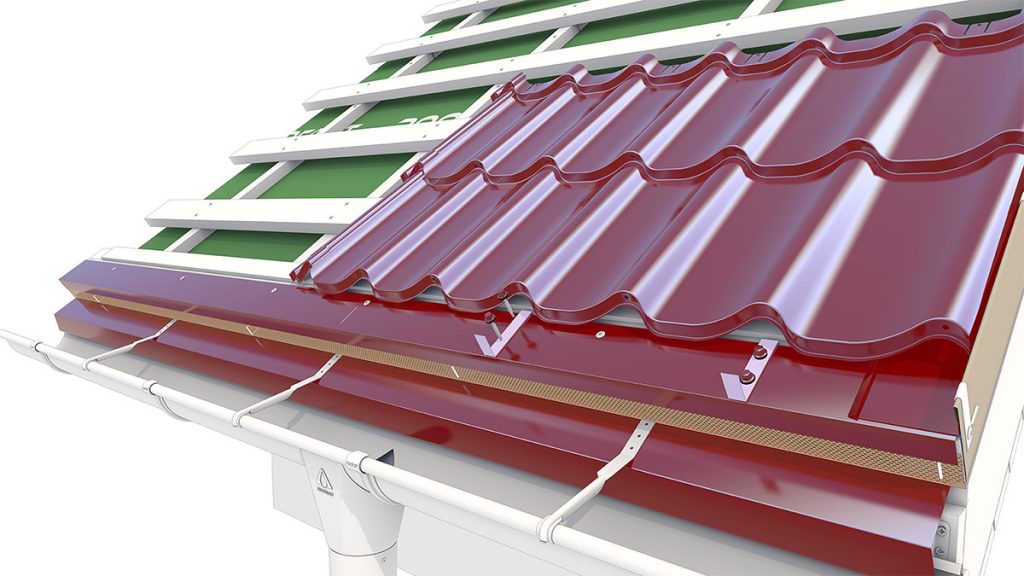
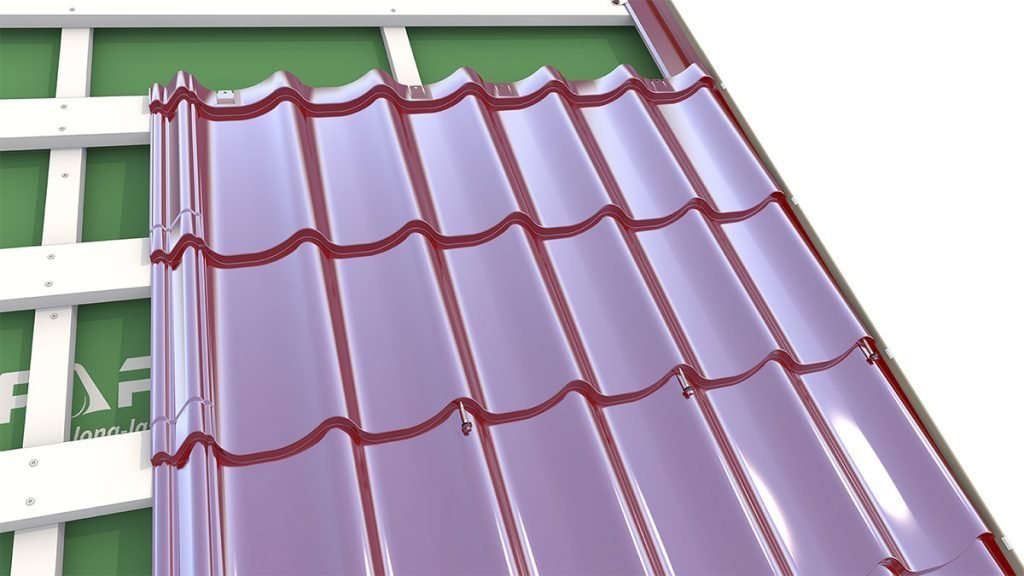
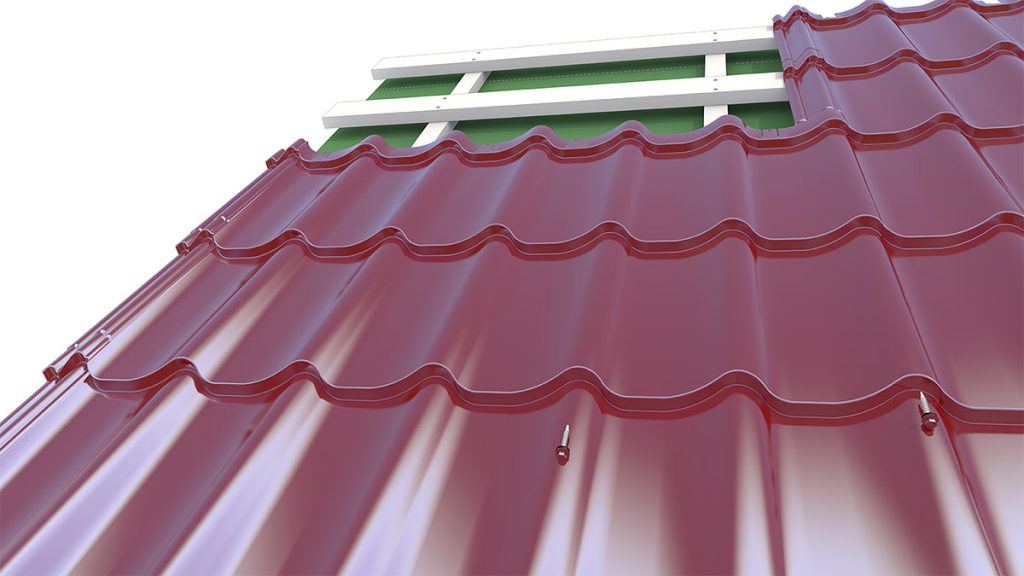
The installation of the double-modular Umbrella metal tile is from right to left and from the eaves to the ridge. The first panel of shingles is fixed in the first stage with 3 screws of the same color, oriented parallel to the roof slope and located in the lower part of the panel.

Step 17

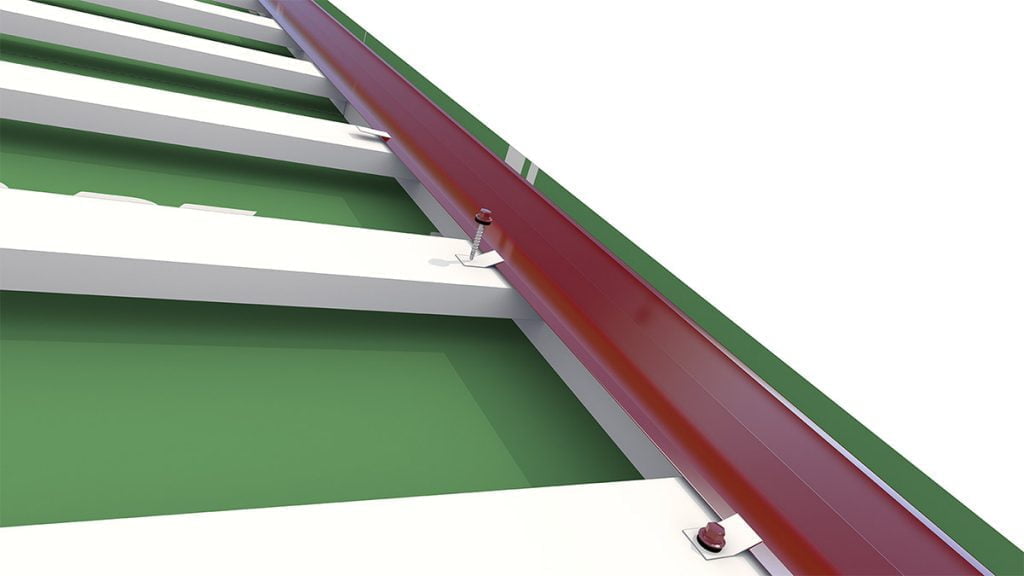
The tile fasteners are fixed to the masking apron on the first batten, 365 mm apart. These elements are used for bolting the first metal tile panel.

Step 18

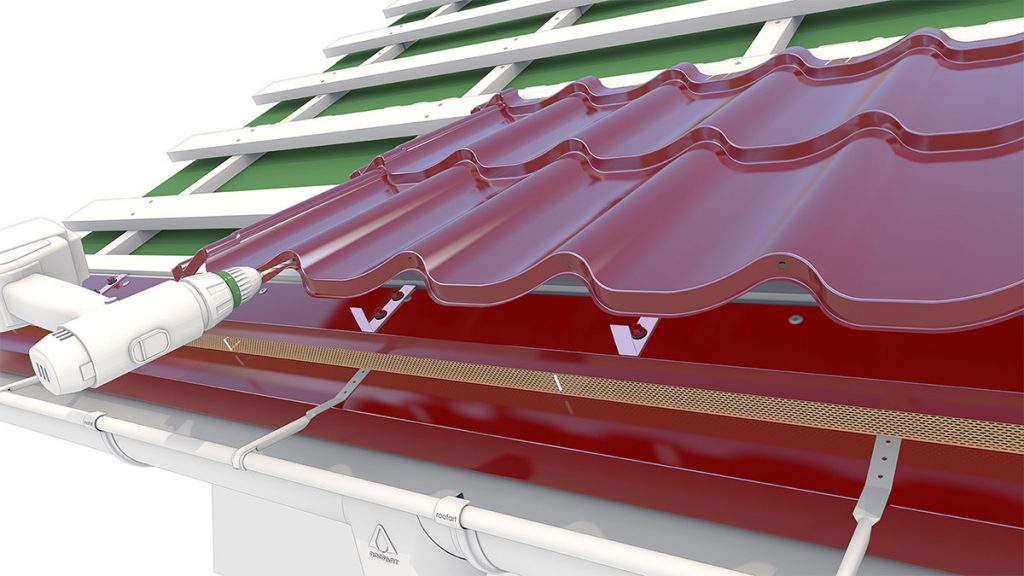
Drill the first hole in the metal tile panel at the bottom, where the tile fasteners are attached.

Step 19

Screw the metal tile panel to the tile fasteners.

Step 20

The upper part of the tile panel is fixed in 4 screws mounted perpendicular to the roof slope and fixed in the horizontal batten.

Step 21

The next metal tile panel is installed by overlapping the previous one, fastening it to the previous one with concealed screws parallel to the roof slope.

Step 22

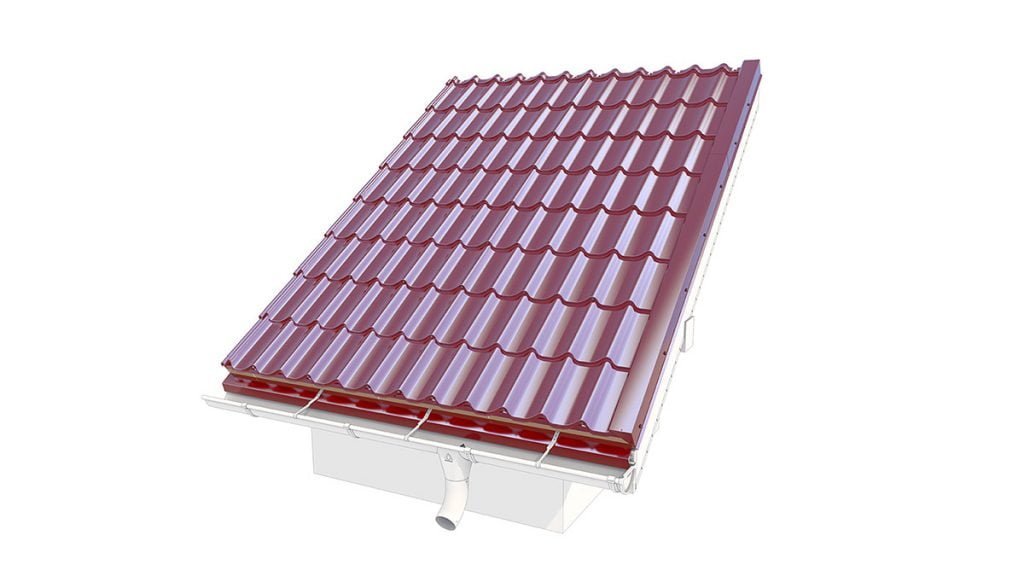
In the same way, all metal tile panels are installed going towards the upper ridge of the roof.

Step 23

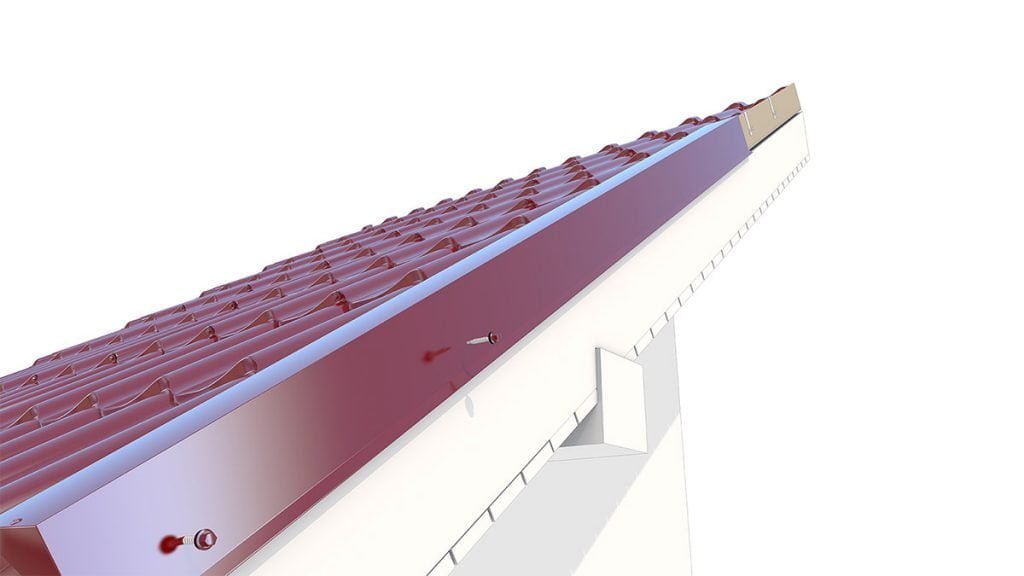
The side apron is screwed to the eaves.

Step 24

A durable roof is guaranteed by following the instructions and installation technology, which will allow homeowners to enjoy a safe environment for a long time.